PayPal is a popular online payment system that allows you to send and receive money online.
It is widely used in Kenya and is a great way to pay for goods and services online. In this blog post, we will show you how to register for PayPal in Kenya.
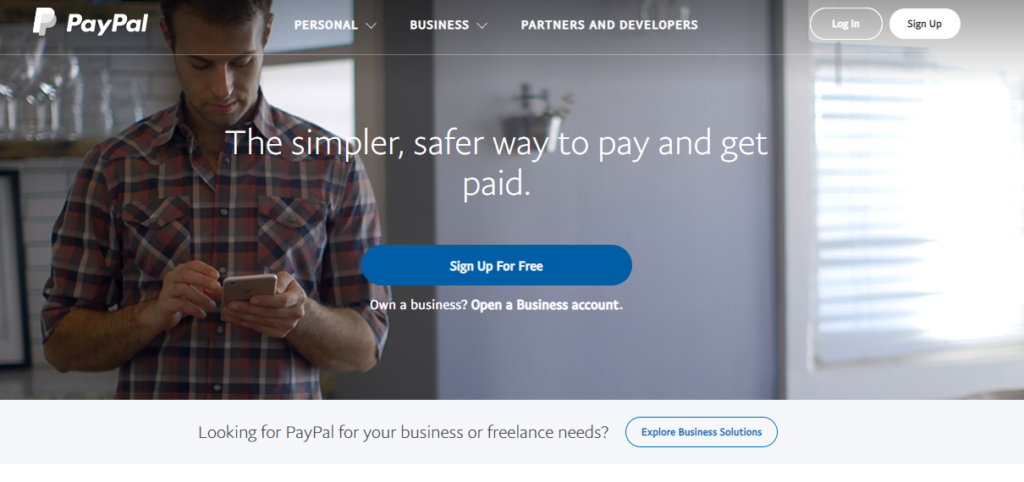
Step 1: Visit the PayPal website
The first step to registering for PayPal in Kenya is to visit the PayPal website.
You can do this by typing “PayPal Kenya” into your browser’s search bar or by visiting the PayPal website directly at www.paypal.com/ke.
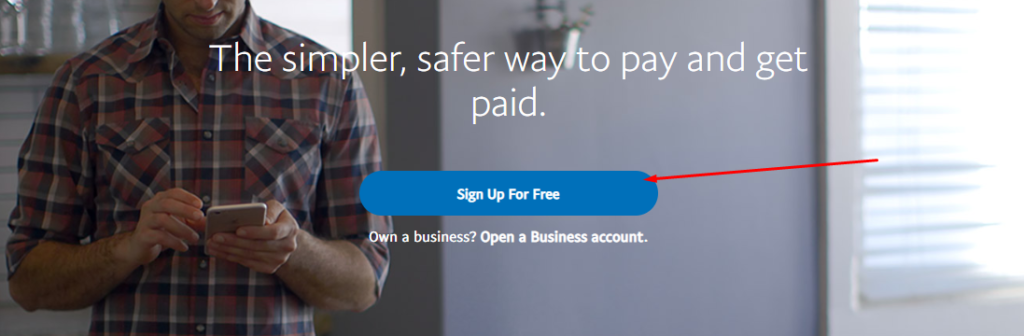
Step 2: Click on “Sign Up for Free”
Once you are on the PayPal website, click on the “Sign Up for Free” button. This will take you to the registration page.
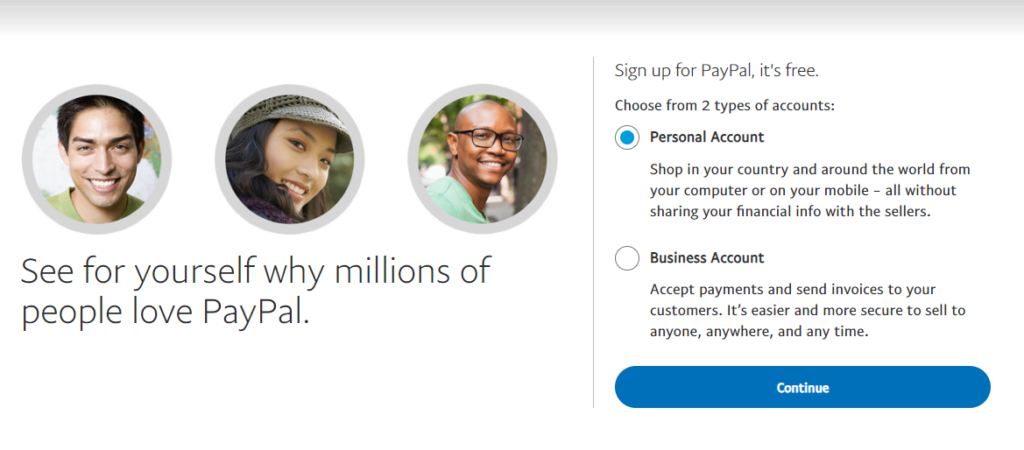
Step 3: Choose your account type
You will then be asked to choose your account type. There are two types of PayPal accounts: Personal and Business. Choose the account type that best suits your needs.
Step 4: Enter your details
On the registration page, you will be asked to enter your personal details such as your name, email address, and password. Make sure that you enter your details correctly as this will be used to verify your account.
Step 5: Add your bank account or credit card
Once you choose your account type, you will be asked to add your bank or credit card. This is necessary to verify your account and to allow you to send and receive money.
Step 6: Verify your account
After you have added your bank account or credit card, PayPal will send you a verification email. Follow the instructions in the email to verify your account.
Step 7: Start using PayPal
Once your account is verified, you can start using PayPal to send and receive money online in Kenya.
You can use PayPal to pay for goods and services online, or to receive payments from clients or customers.
That’s it!
You now know how to register for PayPal in Kenya.
If you have any questions or need further assistance, please contact PayPal customer support.
Netflix is a popular streaming service that offers a wide range of movies and TV shows. If you’re in Kenya and want to pay for your Netflix subscription using PayPal, here’s how you can do it:
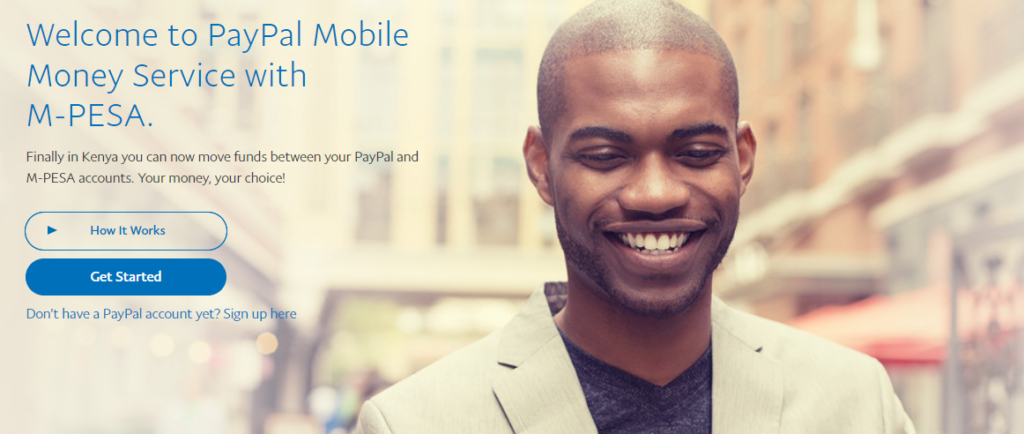
You will then be asked to log into your PayPal account, that’s if you aren’t already.
Read the terms and understand.
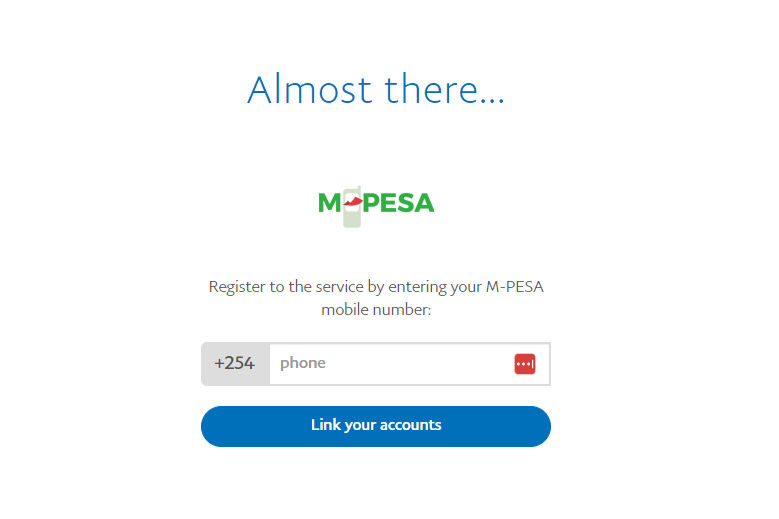
Step 2: Enter your M-Pesa number and click on “Link your Accounts”.
Step 3: You will receive a one-time verification code on your phone number. Input it and click “Confirm”.
Step 4: Once your accounts are linked, you can withdraw money from your PayPal account to your M-Pesa account.
That’s it!
It’s that simple to link your PayPal account to M-PESA.
However, it’s important to note that there are costs associated with using this service.
You can find more cost information on the PayPal Mobile Money website.
What are the costs associated with using this service?
It is worth noting that while receiving money via PayPal in Kenya, you’ll incur some charges.
These include a flat fee of $0.30 and a transaction fee of 4.4% per transaction.
For example, if you need $100, you should ask for $104.92.
Moving cash from your M-PESA account to PayPal comes at a price. Similar to withdrawal charges, loading PayPal will attract a flat 4% fee, in addition to pay bill transactions.
Can I link my M-Pesa account to multiple PayPal accounts?
NO, you can’t link one mobile number to two PayPal accounts. If you want to change the account the mobile phone is linked to, the best thing to do is to unlink a number and link it to another account.
PayPal is a popular online payment system that allows you to send and receive money from anywhere in the world.
MPESA is a mobile money transfer service that is widely used in Kenya.
This blog post will show you how to withdraw money from PayPal to MPESA.
Step 1: Log in to your PayPal Mobile Money account with your email and password.
Step 2: Click on the Withdraw option.
Step 3: Your available balance will be displayed ready for withdrawal.
Step 4: Enter the amount you want to withdraw from your PayPal account in USD. The amount should be equivalent to or less than your account balance.
Step 5: Click on the Withdraw button.
Step 6: You will receive a confirmation message on your phone.
That’s it!
You should receive your money in your MPESA account within a few minutes. You can contact PayPal customer support for assistance if you have any issues.
What is PayPal to mpesa charges?
The latest MPESA-PayPal charges for withdrawals and topping-up are as follows:
Withdrawal charges – 3% of the withdrawn amount (what you are sending from PayPal to MPESA)
Top-up charges – 4% of the top-up amount (what you are sending to PayPal from MPESA)
How long does it take to withdraw money from PayPal to MPESA?
Withdrawals from PayPal to MPESA usually take between a few minutes to 3 days to be processed, depending on the value of the transaction made.
However, as of 2020, PayPal to MPESA transactions take just minutes.
What is the maximum amount I can withdraw from PayPal to MPESA?
The minimum amount of money you can withdraw from PayPal is 1 USD, while the maximum is Ksh 150,0001.
Always ensure, before withdrawing, that the balance in your MPesa plus the amount you want to withdraw will not exceed Ksh 300,000, the maximum amount of money an MPesa account can hold.
Are you tired of running out of tokens for your electricity meter? Do you want to know how to buy tokens via MPESA?
Look no further! In this blog post, I’ll show you how to buy tokens via MPESA in a few easy steps.
Step 1: Go to your mobile phone Sim tool kit.
Step 2: Select the M-PESA option.
Step 3: From the options pick Lipa na M-Pesa.
Step 4: Select Paybill.
Step 5: Enter the business number of your electricity provider. This number can be found on your electricity bill.
888888 for postpaid
888880 for prepaid
Step 6: Enter your account number for your electricity meter.
Step 7: Enter the amount of tokens you need to purchase. Step 8: Enter your M-Pesa PIN then send.
It’s that simple!
You can now enjoy an uninterrupted power supply in your home.
The best part is that you can buy tokens via MPESA at any time of the day, so you don’t have to worry about running out of tokens in the middle of the night.
I hope you found this blog post helpful. If you have any questions or comments, feel free to leave them below.